
Nitsuke – Teri Braise-
Nitsuke is a very popular fish cooking in Japan. I would translate the word into “Teri Braise” in English, even though we don’t use oil like in braise.
It’s half boil and half steam method. The advantage of steam cooking is the tender and juicy finish. The advantage of boil cooking is the penetrating seasoning into the meat. Teri Braise takes advantage of both.
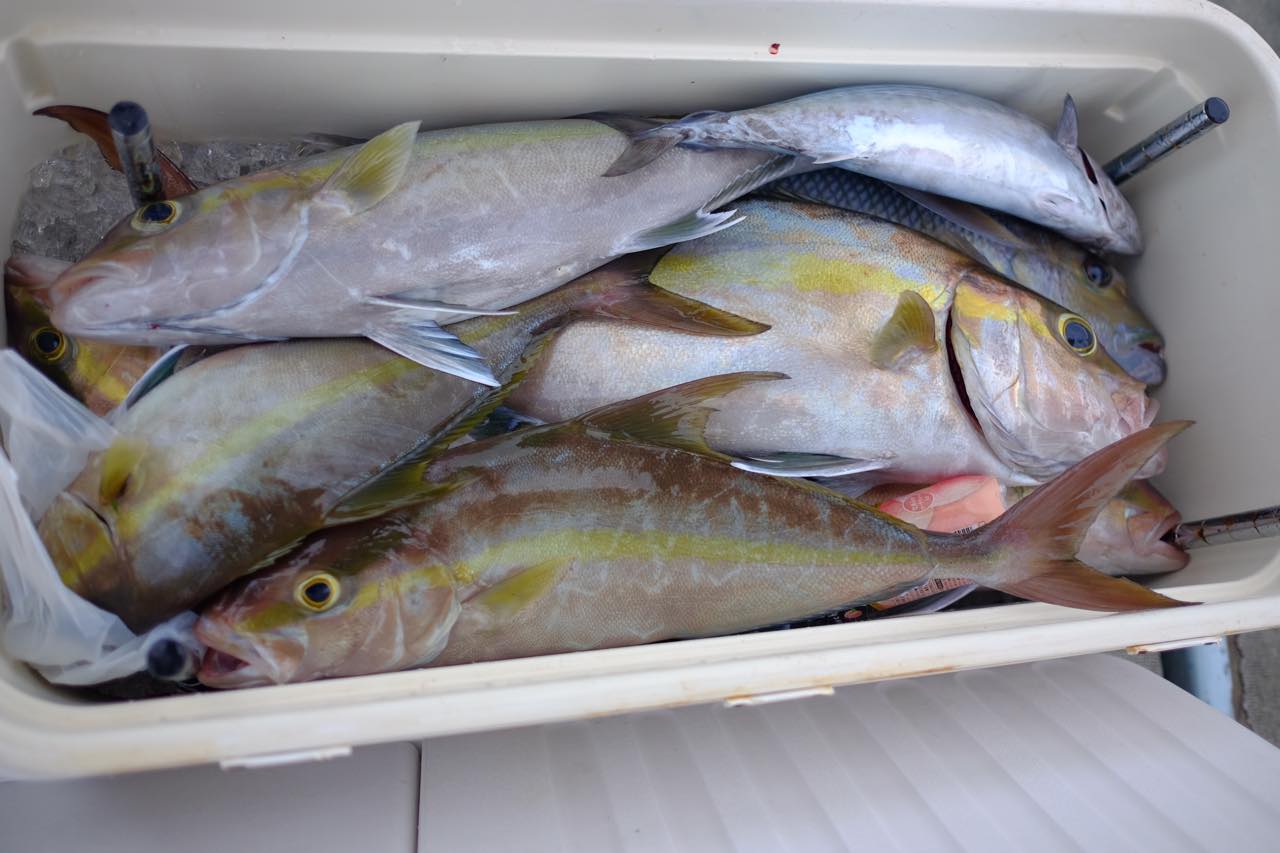
It goes well with any fish. Especially popular with demersal fish.
1. Clean the fish.
Teri Braise is usually the whole fish cooking. It’s possible with fillets. But the sauce will be nicer with more flavor by cooking with bones.
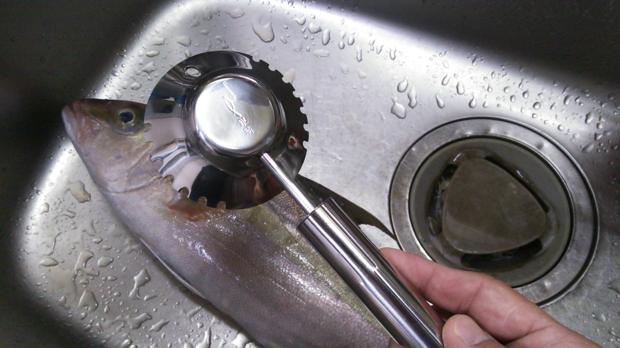
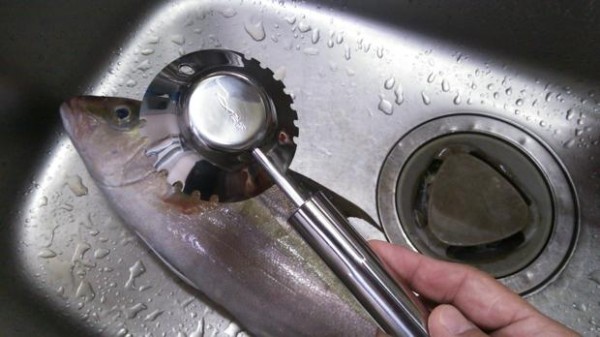
Scale, take out guts and gills. Make sure to scratch off all the bloody scraps with a toothbrush. You can bundle 5 or 6 toothpicks and scratch with it too.
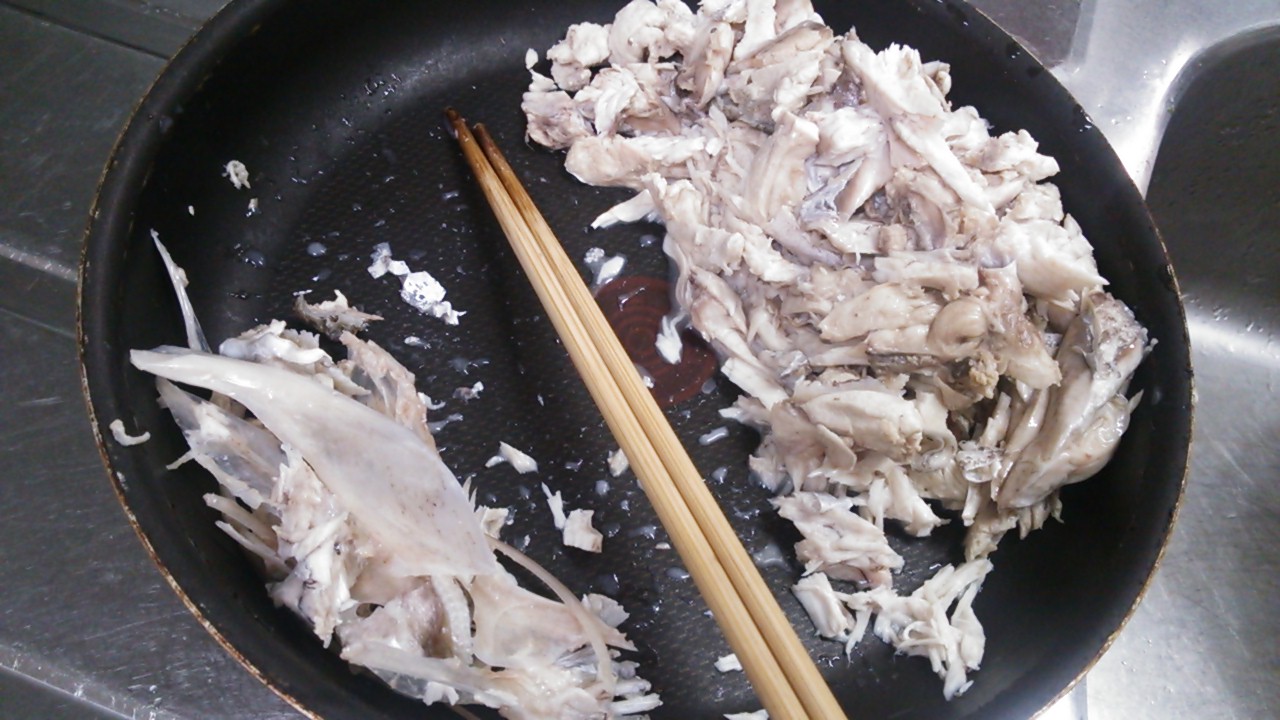
There are major blood vessels along the belly side of the spine. There are a lot of chunks in the head (where the top of the gills have been attached) too. Clean it all off.
This is just an example with other fish.
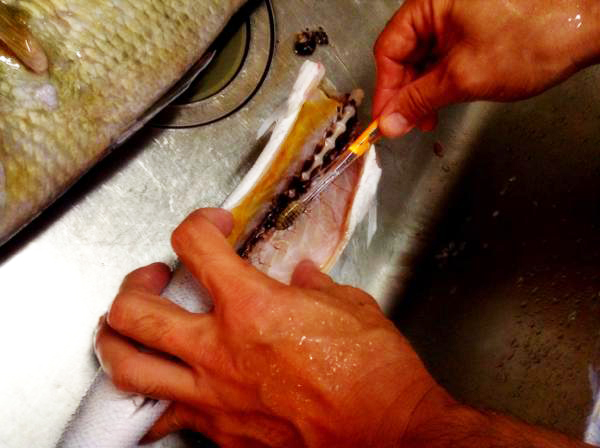
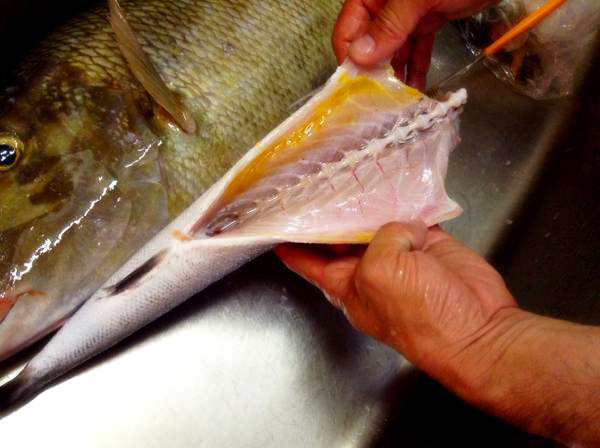
Blood is bad. It’s the source of the fishiness.
After scratching off the bloody scraps, if you can pour boiling water over the fish and inside the belly, or dip the whole fish into boiling water for maybe 10 seconds, that would be perfect. It would take out much fishiness.
All these little attentive extra works will make a world of difference at the finish.
2. Prepare the fish
Make some cuts into the skin where the body is most thick.
The cuts helps to absorb sauce into the meat.
It also keeps the fish in shape when done cooking. The skin will contract when heated, curling up the belly and the back. So the cuts should be from the head to the tail. Or they can be diagonal along the body.
This is a humpback red snapper.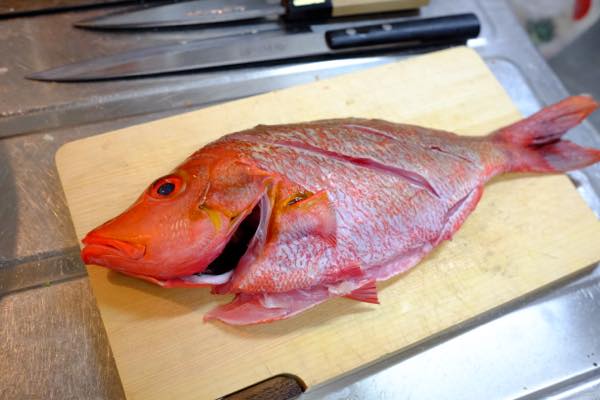
3. Prepare the sause
Teri Braise is cooked in a frying pan. You put in the sauce much enough the fish is soaked half body.
The measurement can be rough. But if it’s your first time, you may want to measure first. Find the suitable size pan for the fish. Put fish and water up to cover half the body. And measure the water.
Teri Sauce
| Soy Sauce | Mirin | Sake | Water |
|---|---|---|---|
| 1 | 1 | 1 | 3 |
This is the ratio. I only measure Sake, soy sauce and mirin for the same amount. Plus 0.5 sugar. If you use 100cc each of sake, soy sauce and mirin, I put in 50g sugar. If you only keep to this ratio, you can’t go wrong. Water can be adjusted.
This time, I had a 600g fish. The ingredients are like this.
- Sake — 80cc
- Soy Sauce — 80cc
- Mirin — 80cc
- Sugar — 40g
- Water — 280cc
- Ginger — 30g
Put everything in frying pan except ginger. Peel the ginger and put only the skin into the sauce. Bring to boil. Keep boiling for a minute. ( It will boil off the alcohol.)
4. Put in the fish.
Keep it on medium heat for 10 minutes.
Here we do something very characteristic. It’s called “drop lid”.
Take out a tin foil. Make some wrinkles and make a hole in the center. Shape it somehow to fit inside the size of the pan. It should be a little smaller than the pan. It’s a lid, but not a complete cover. The lid is sitting on the fish, not the pan. That’s “Drop lid”
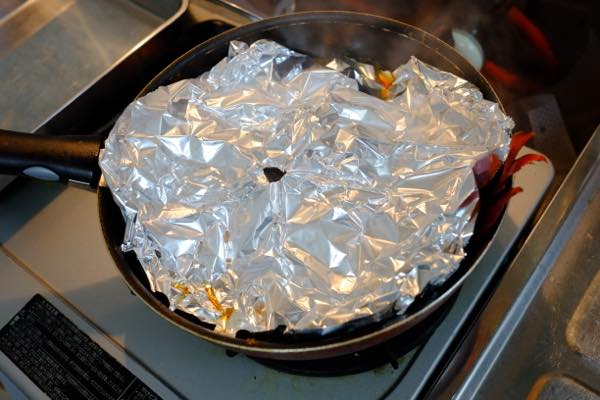
Drop lid is meant to make the heat and the seasonings spread around in the pan with little sauce like this. We don’t use it for soup or stew. I think it’s only in Japanese cooking.
Like a complete cover, drop lid does;
- Keeps the heat inside.
- Makes the sauce run around inside for even seasoning
- Keeps the sauce from drying out rapidly.
Unlike a complete cover, drop lid does;
- Enables cooking with little sauce and keeps the ingredients in shape. In this case, if we cook fish in much liquid, the fish would swim around the liquid and it would collapse.
- Lets fishy odor out of the cooking pan. The fishiness is in the blood and the fat. And it will come out first when heated. If you put on a complete cover, you would be cooking the fish in the odor.
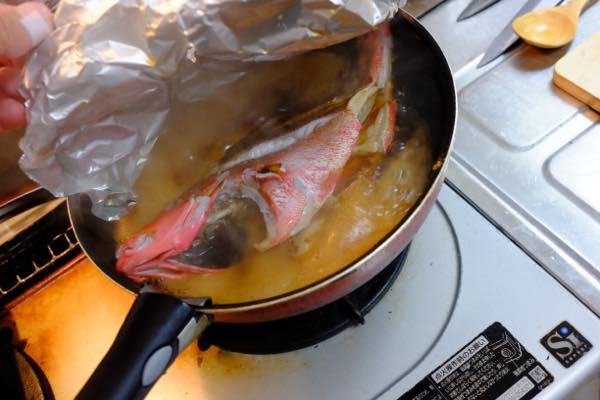
5. High heat to finish
Take out the drop lid. Bring to high heat (Not too high to shake up the fish). This is to condense the sauce and make the fish wear it. Like glazing. Keep pouring the sauce over the fish with a ladle. Be careful not to collapse the fish. About 5 minutes.
If you want, you can put in some pre-cooked vegetables when you do this. Long onions, radish, bamboo shoots, burdock, tofu are popular here.
6. Take out the fish
Finish the sauce.
With extra caution, pick up the fish and move onto the plate.
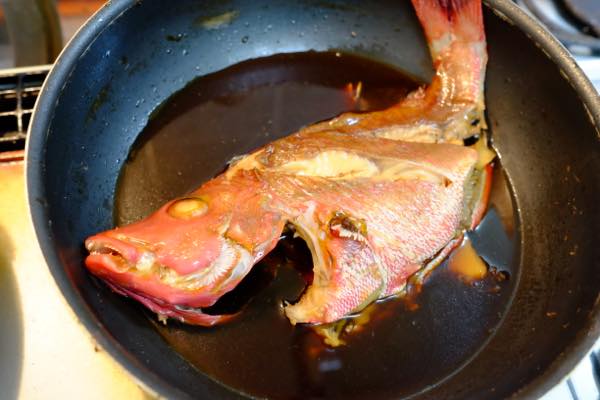
Personally I don’t like to move the fish right away. If I can, I put out the heat and let it sit for a couple of minutes. When the cooked meat or vegetables cool down, the inside pressure lowers down and it sucks in the sauce. Then I move the fish to the plate. When I cook other dishes at the same time, I make this first, let it sit in the pan to cool down, and just warm it up before serve. This is a very tasty dish even when it’s cooled down a bit. It just needs to be warm when served.
When everything is moved out of the pan and only the sauce is left, we’ll finish the sauce.
Have ginger grinded. Well, before that, take out some slices and have them shredded for decoration on the fish. Grind the rest. Squeeze the juice into the sauce.
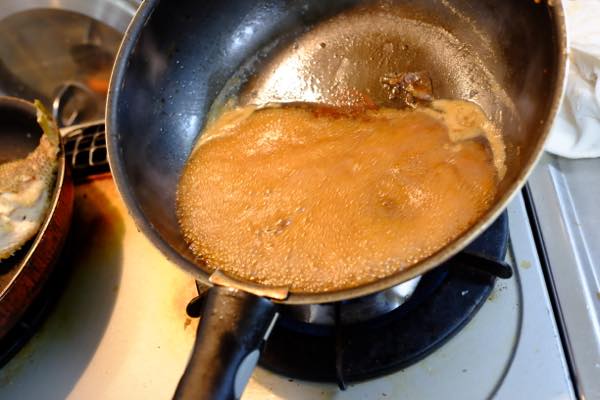
Boil the sauce down to your liking. You may add water if you want to. Like I said, sake – soy sauce – mirin – sugar ratio is important. Water can be adjusted here. Japanese people generally like thick rich sauce. Because we love to have it with plain steamed rice!
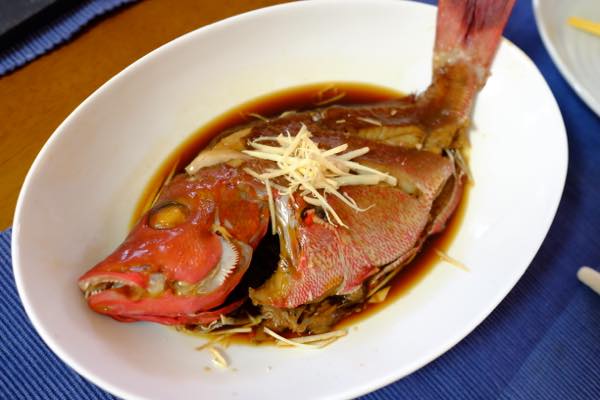
Pour the sauce over the fish. Decorate with ginger shred and maybe some chopped green.
Bon appetit!

Here’s how the pro does it.